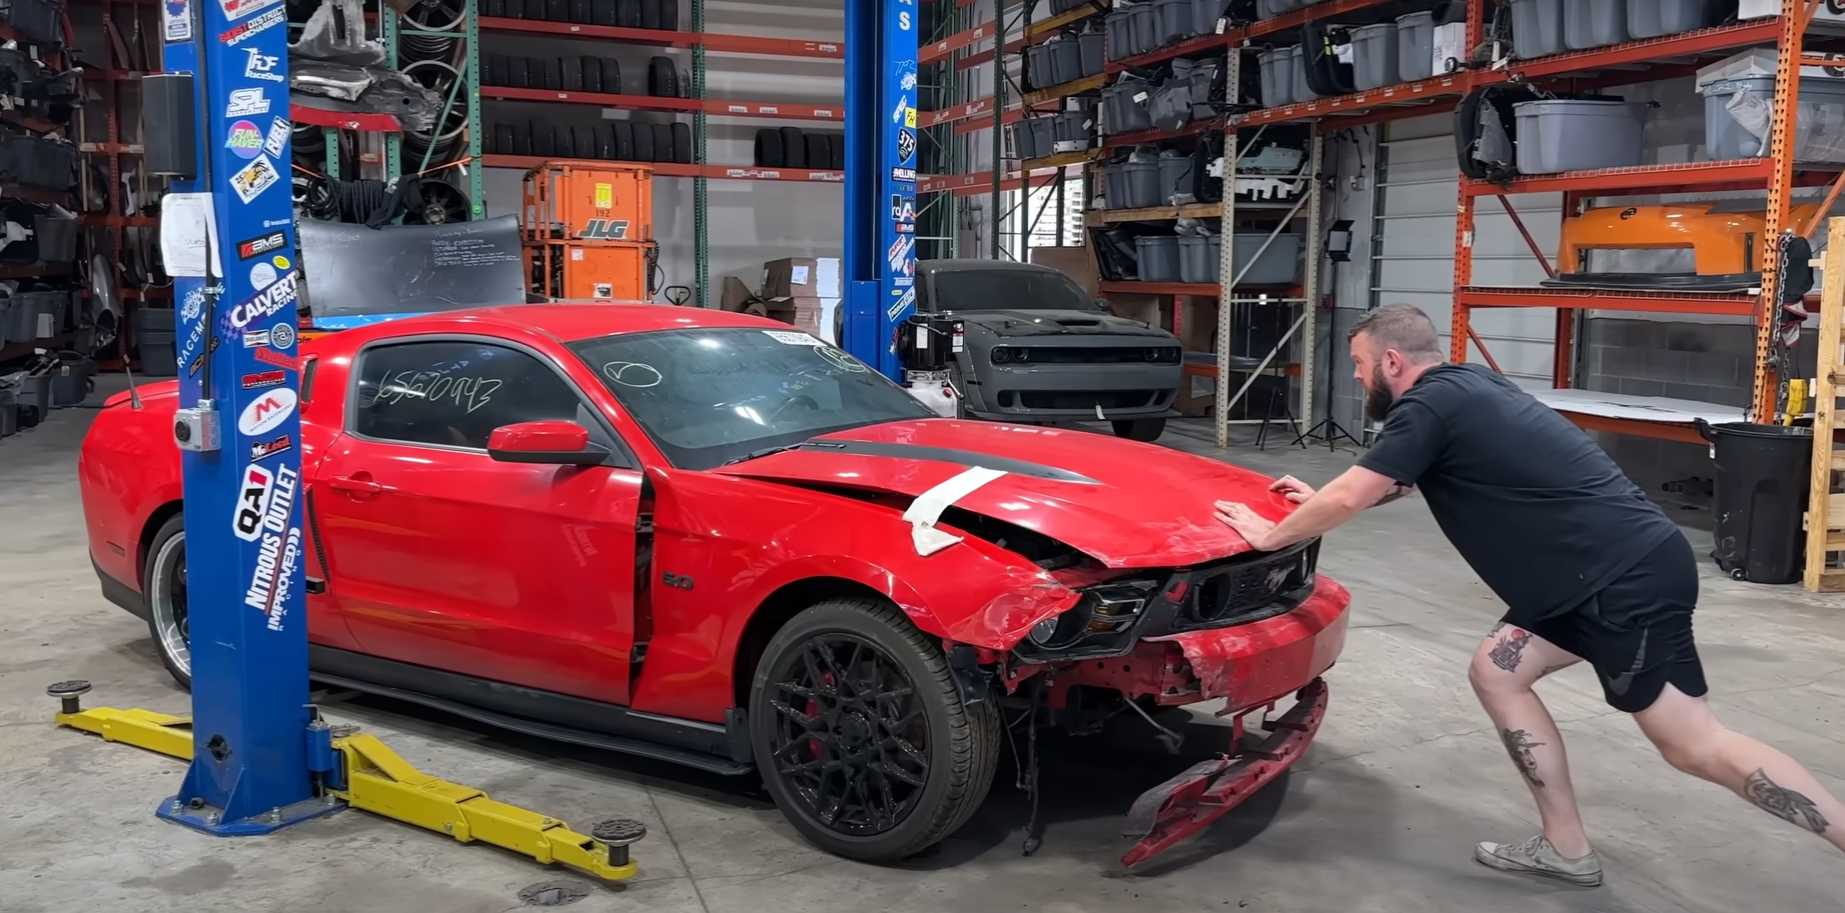
It all started when a Mustang was rescued from being scrapped, with hopes high for a smooth rebuild using parts from two similar cars. The project moved quickly, with the initial assembly and the first short drive giving positive signs, until a major oil leak suddenly appeared. The problem was hard to trace, as oil had spread over the lower parts of the engine and transmission, making it clear something significant had failed.
To find the issue, the transmission and clutch were taken apart, leading to the discovery of oil soaking several critical components. Closer inspection pointed to the rear main seal as the likely cause. Replacing this seal and putting everything back together was challenging, but it offered a clear solution and a chance to get the car back on the road.
Key Takeaways
- A major oil leak stopped the first test drive after the build.
- Detailed inspection revealed the rear main seal was the source of the leak.
- Repair efforts focused on replacing the seal and carefully reassembling the components.
Saving the Abandoned Mustang
Collecting Parts from Wrecked Boss 302s
To rebuild the Mustang, the team found parts from two heavily damaged Boss 302s they got through a salvage auction. They took the highest quality pieces from both cars and put them together. This approach helped them create the car they call the Boss 302.
Parts Sourced:
| Original Vehicle | Parts Used |
|---|---|
| Boss 302 #1 | Engine, Drivetrain |
| Boss 302 #2 | Misc Parts, Clutch |
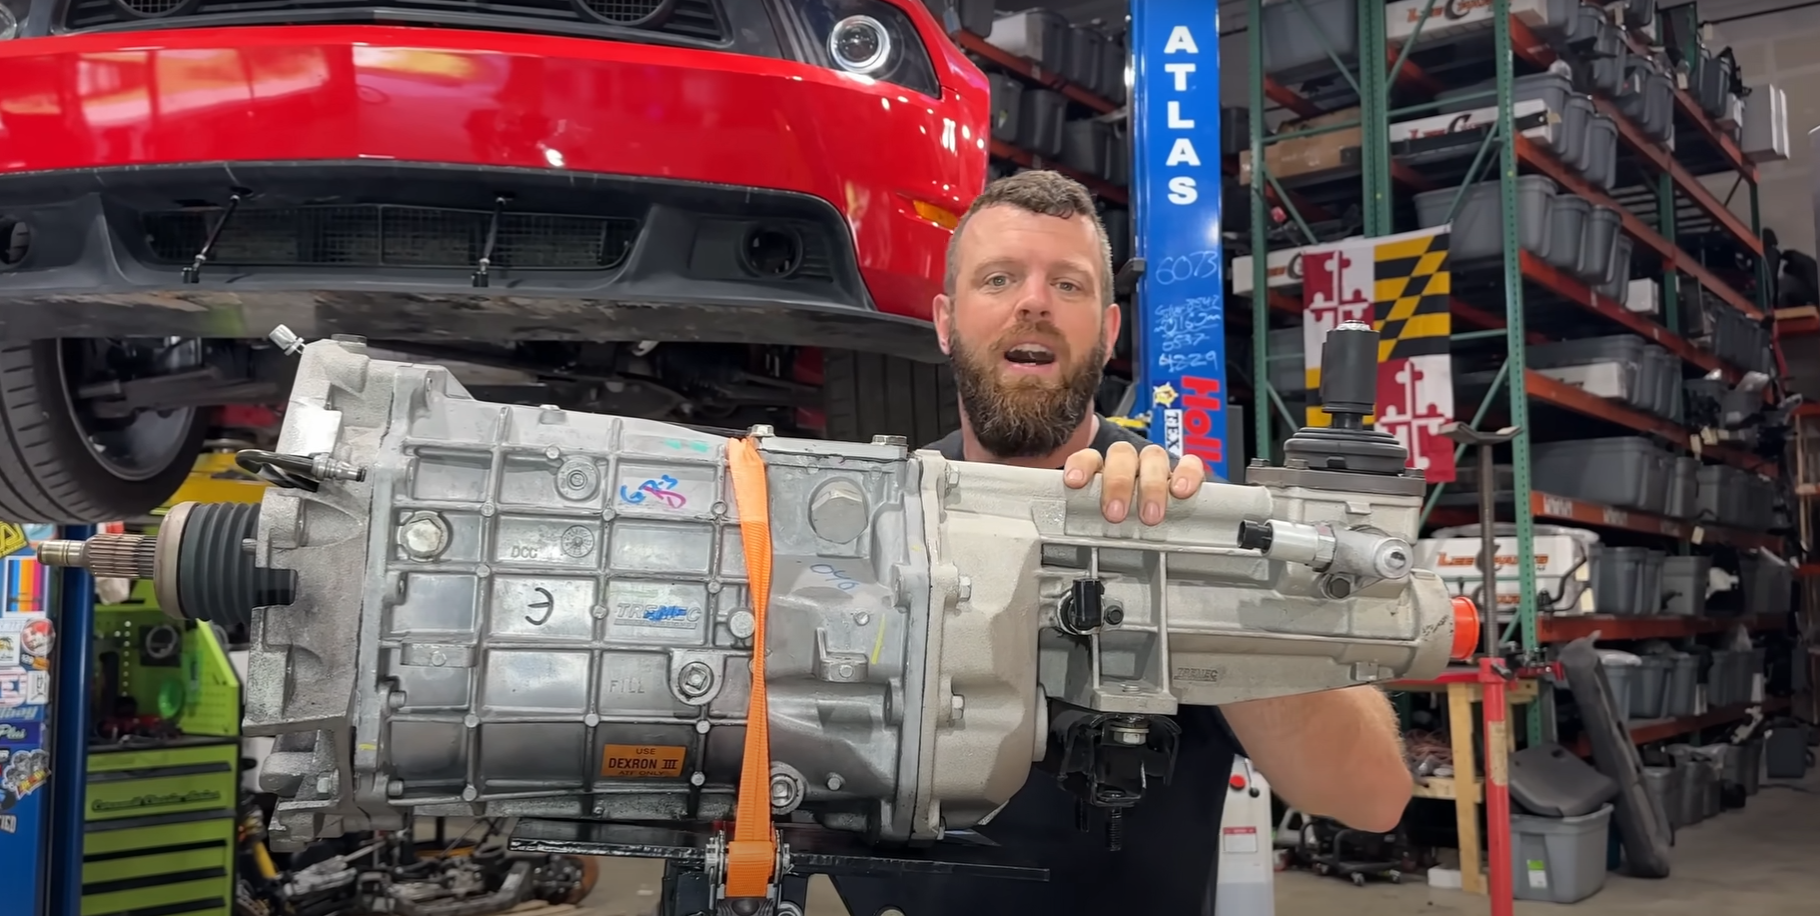
They discovered a twin disc clutch installed, which appeared nearly new. The transmission swap also seemed fresh, showing little wear. They also noticed top quality bolts and hardware already present, which was a nice bonus and suggested the car hadn’t been abused much since the replacement.
Plans and Fixes for the Boss 302
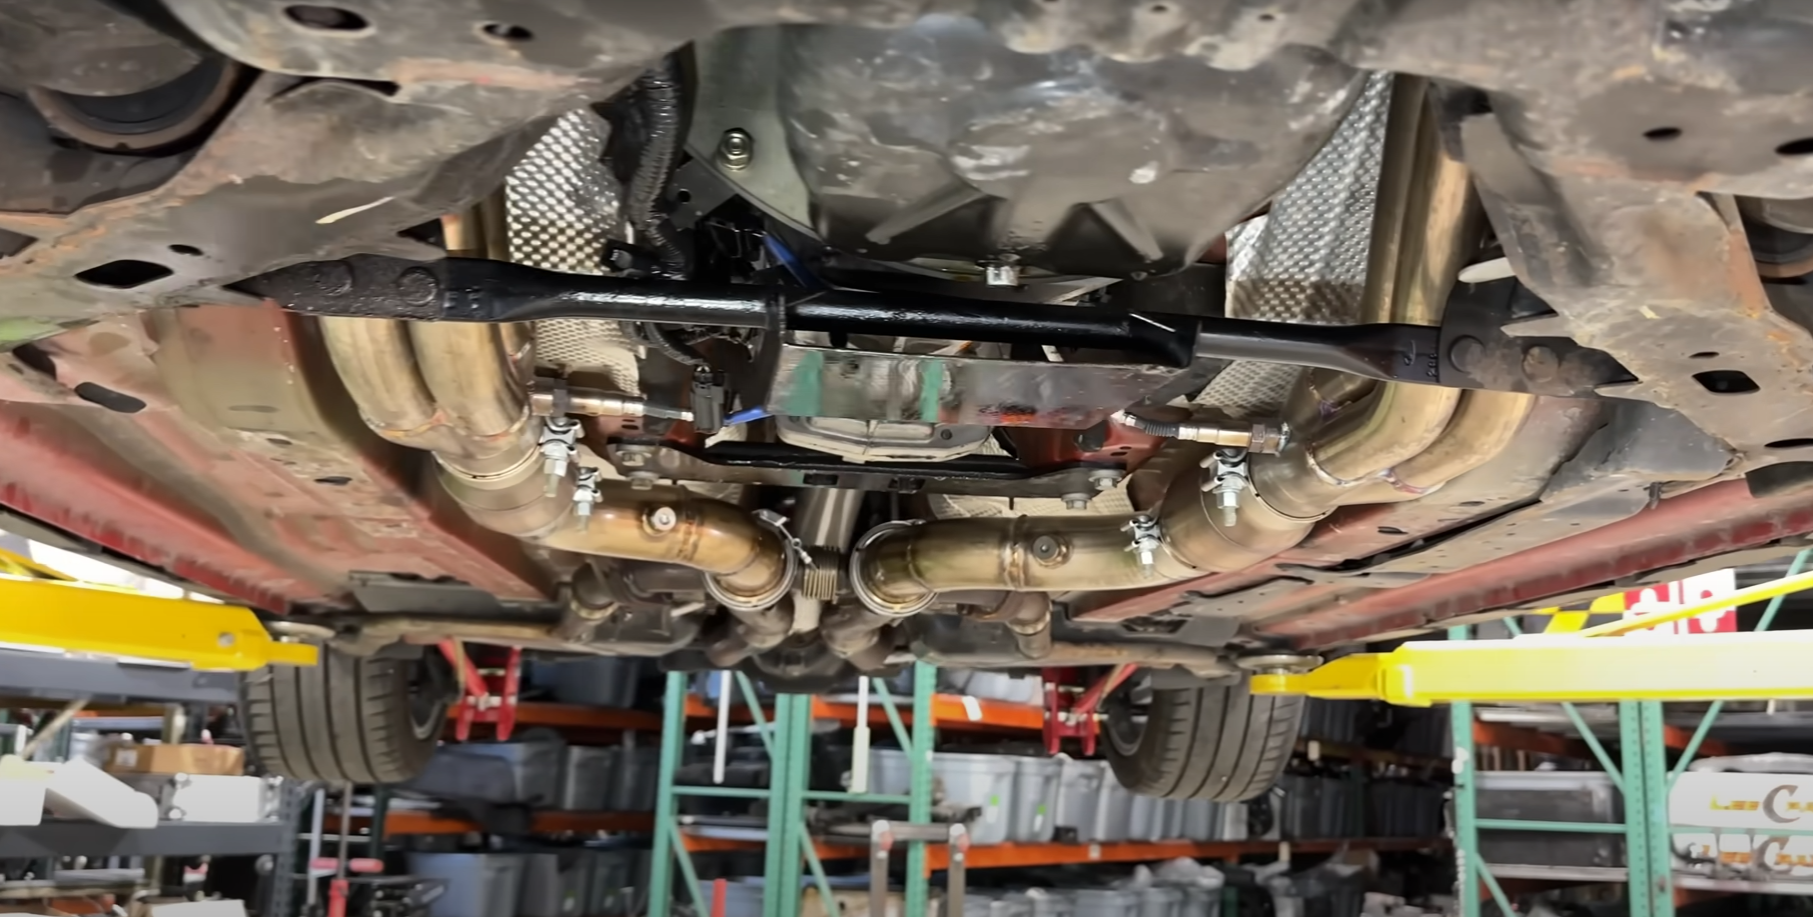
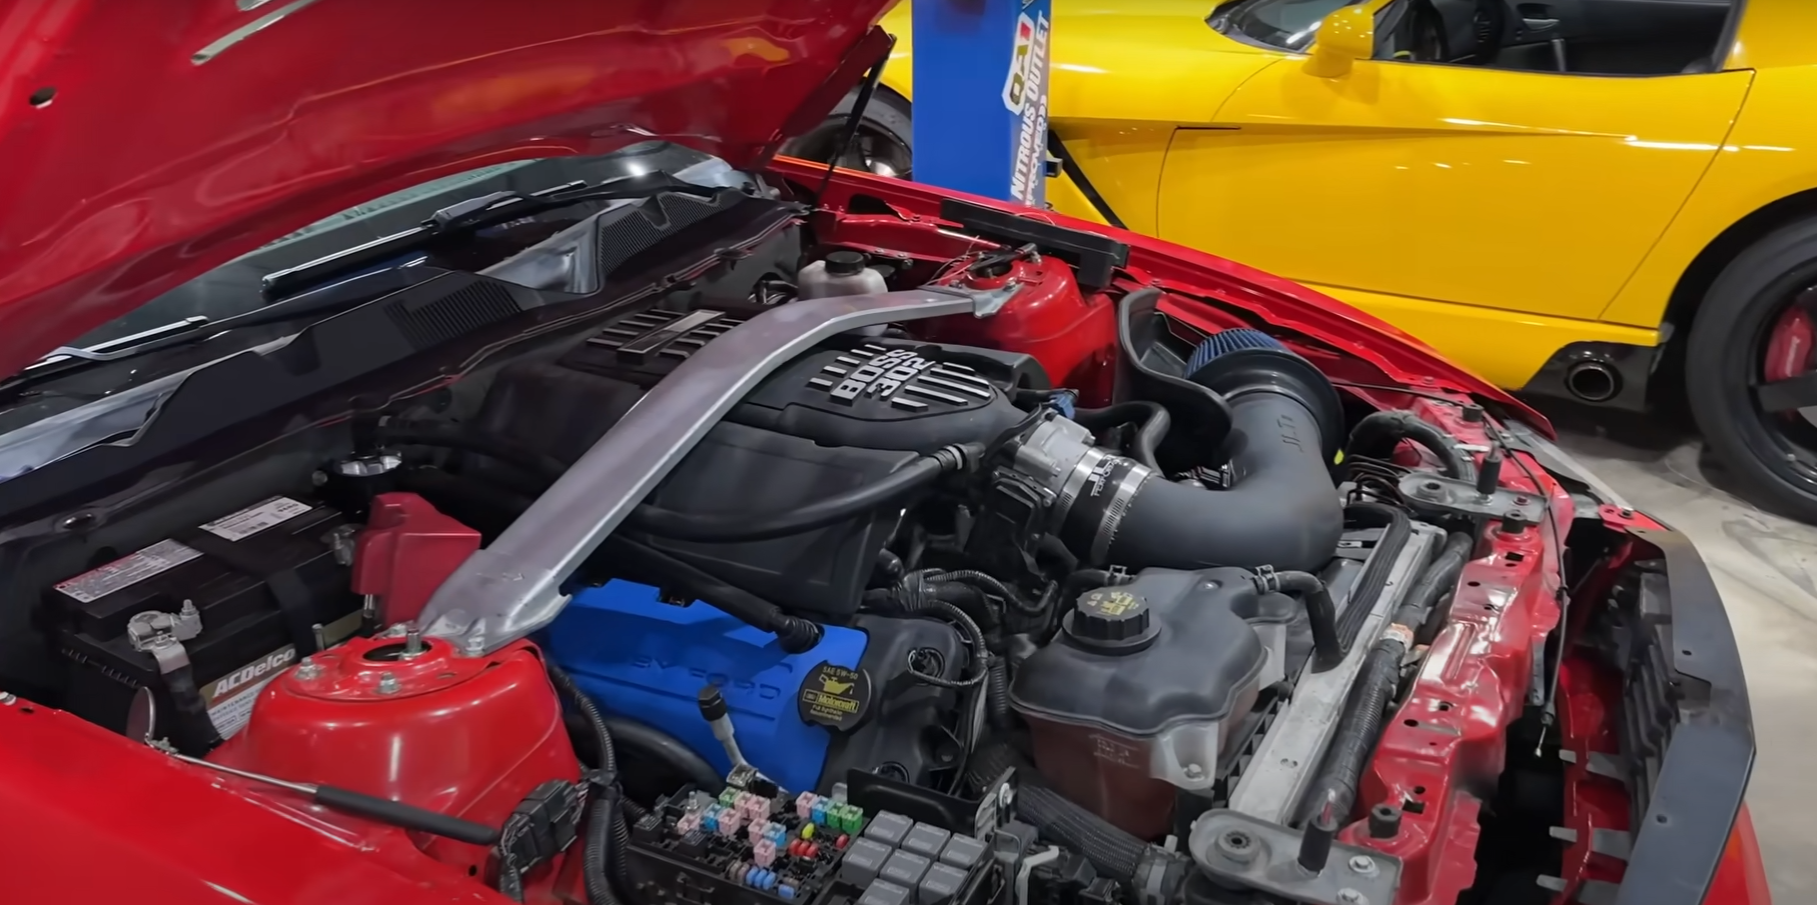
The team’s main goal is to get the Boss 302. back on the road using the best salvaged parts. During the first drive, they found a big oil leak. Oil was everywhere—under the engine, on the exhaust, the transmission, and all over the wiring.
Steps Taken:
- Pulled the transmission and bell housing to find the leak.
- Inspected the clutch, which looked in great shape.
- Tracked the leak to the rear main seal behind the engine.
When they removed the old seal, it almost fell out and was missing a key piece inside. They replaced it with a new $50 seal, a much cheaper fix than repairing a cracked engine block. To help next time, they shared a tip: adding silicone paste behind the seal keeps the spring inside during installation.
Project Goals Table:
| Task | Status |
|---|---|
| Source parts from salvage | Done |
| Diagnose oil leak | Done |
| Replace rear main seal | In Progress |
| Reinstall transmission | Planned |
| Test drive for leaks | Pending |
With the new seal in place, they hope the major oil problem is solved and the project Mustang can be taken for another test drive soon.
Assembling the Mustang and Testing On the Road

Piece-by-Piece Mustang Rebuild
He started off by collecting two heavily damaged Boss 302 Mustangs from an auction. The plan was to use the best parts from both cars and create a working car, now called the Boss 302. The build was going smoothly—parts fit well and assembly moved quickly.
He found a twin disc clutch in the car, identifying it by the gap between the wear patterns. It turned out to be a McLeod clutch system, which performed very well for the short drive. The clutch still had a lot of life left, and the hardware looked high quality, with RP bolts and a nearly new flywheel surface. Below is a summary of the main parts combined and their conditions:
| Component | Condition | Notes |
|---|---|---|
| Clutch (Twin Disc) | Nearly new | Smooth pedal, nice engagement |
| Flywheel | Very little wear | Still in good shape |
| Transmission Swap | Recently completed | High-quality hardware |
First Test Drive and Major Oil Leak Discovery
The first test drive revealed a big problem within a mile. Oil was leaking badly from somewhere behind the engine and soaking the undercarriage, including the exhaust, transmission, and wiring. He could not see the source right away, but it was obvious the leak was severe.
Investigation showed oil collecting at the bottom of the transmission and pouring from the bellhousing when bolts were removed. He found oil on the back side of the flywheel and the reluctor wheel. Further inspection showed that oil was coming from above the oil pan gasket. This pointed the problem to the rear main seal, not the oil pan gasket or the rear main seal plate.
The old seal appeared loose and was missing its spring, which is supposed to stay inside. He guessed the seal might have failed due to sitting for a long time in the salvage yard, or possibly from installation error. To avoid the spring falling out from the new seal, he used silicone paste behind it as a precaution.
Getting the transmission back in was tough because of the twin disc clutch setup. It took some effort and the use of ratchets to draw the transmission into place, which is not the recommended method but worked for this purpose.
Tim’s tip: a dab of silicone or dielectric grease can help keep the spring in place during seal installation.
He was ready to test the car again and see if the fix worked.
Finding Where the Major Oil Leak Begins
Pinpointing the Leak’s Starting Point
To figure out where the oil was coming from, the team first noticed oil pooling behind the engine, just above the oil pan. Oil had spread over parts like the exhaust, transmission, and wiring. The next step was to leave the engine in place but remove the transmission and bell housing for a closer look.
When they took out the bell housing bolts, oil poured out, showing there was a lot more trapped inside. The oil buildup was especially heavy where the transmission connects to the bell housing, suggesting the leak started at the rear of the engine. After removing everything, it was clear that the oil had coated the backside of the flywheel and the reluctor wheel.
Based on these observations, it was determined that the leak was most likely coming from around the rear main crankshaft seal. The oil was above the oil pan gasket, ruling that out, and the top of the rear main seal plate was dry. This narrowed down the source to the rear main seal.
Signs of the Leak and Impacted Car Parts
Several warning signs pointed to a major problem:
- Thick oil soaked the underside of the car, including the exhaust and the bottom of the transmission.
- Oil collected at the junction between the transmission and the bell housing.
- The clutch, flywheel, and reluctor wheel all had oil on them.
A quick check showed the clutch was in surprisingly good shape and seemed recently installed, but oil was everywhere in the bell housing. The seal itself fell out too easily, and the spring inside had come loose, which is not normal. The heavy oil presence on the back of the flywheel and around the crankshaft made it clear that the rear main seal had failed.
| Affected Part | Observed Symptom |
|---|---|
| Exhaust | Covered in oil |
| Transmission | Oil-soaked surfaces |
| Wiring | Saturated with oil |
| Flywheel | Coated in oil |
| Reluctor wheel | Covered in oil |
| Clutch | Appeared clean but exposed to oil |
It was also noted that the rear main seal had likely failed due to age, installation error, or possibly crankcase pressure. A new seal from Ford was purchased, and proper installation tips, like using silicone paste behind the seal, were discussed to prevent future leaks.
Transmission and Clutch Check
Dual Plate Clutch Review
The vehicle uses a twin-disc clutch, identified by the clear gap between two separate wear patterns on the clutch surface. This setup is a McLeod twin-disc, and the hardware looks almost new with little visible wear on the clutch plates or friction surface. The clutch pedal has a smooth, light feel and acts much like a stock clutch, with easy engagement.
Although the friction surface appeared dirty and worn from a distance, a closer look and touch confirmed that it’s actually in good shape. The amount of wear shows just a small drop in height where the clutch plates meet the flywheel, which suggests minimal use. The clutch hardware includes ARP bolts, indicating high-quality parts were used in the installation.
Quick summary:
- Twin-disc (dual plate) clutch
- Minimal wear, surfaces still in good condition
- Easy pedal feel, like stock
- Includes premium quality bolts
Gearbox Health Inspection
The transmission was removed without fully taking out the engine to investigate an oil leak suspected to be from the rear main seal area. Before the bell housing was even separated, a large amount of oil and debris was visible inside and around the base of the transmission. Once the bell housing was removed, oil continued to drain, confirming a significant leak.
Despite the oil mess, the internal gearbox and the connected clutch both appeared to have low mileage and were generally clean except for the oil contamination. No major cracks or visible damage were found in the transmission case or components. A new rear main seal was installed, with care taken to prevent the internal spring from coming loose during installation.
Transmission Details Table
| Area | Condition | Notes |
|---|---|---|
| Inside Transmission | Wet with oil | Major leak from rear of engine area |
| Bell Housing | Oil pooled | Suggested extensive rear main seal leak |
| Component Wear | Minimal | Parts look clean, low usage |
| Hardware | High quality | ARP bolts and premium clutch alignment tool |
The reinstallation process needed extra force because of high tension on the input shaft, a common situation with used twin-disc setups after previous swaps. Caution was taken to draw the transmission in as evenly as possible, even though using ratchets is not the most recommended technique. Throughout, only top-quality alignment tools were used to help ensure a proper fit.
Inspecting Rear Main Seal Issues
How to Spot a Rear Main Seal Problem
A major sign of trouble is a serious oil leak found behind the engine, just above the oil pan. Oil can cover parts like the exhaust, transmission, and even wiring, soaking everything underneath. The leak often becomes obvious when oil pours out as the bolts from the bell housing are removed.
One clue is oil not just at the bottom, but also on the back of the flywheel and on the reluctor wheel near the crankshaft. If these areas are oily and the upper part of the rear main seal plate is dry, this points to the rear main seal as the culprit.
A table to help track signs:
| Observation | Possible Cause |
|---|---|
| Oil above oil pan | Rear main seal or seal plate problem |
| Oily flywheel | Seal leak at crankshaft |
| Dry seal plate top | Less likely plate or oil pan gasket |
Reasons Rear Main Seals Go Bad
Most rear main seal failures happen for one of these reasons:
- Old Age: Rubber seals can dry out over time, especially if the engine has sat unused for a while.
- Bad Installation: If the spring inside the seal pops out during installation, the seal can’t do its job. Using a small amount of silicone paste or dielectric grease during installation can help prevent this by holding the spring in place.
- Crankcase Pressure: Extra pressure inside the crankcase can force oil past the seal, though this is less likely in a recently swapped or lightly used engine.
Often, the problem is clear when the seal comes out too easily or is missing the internal spring. The spring is meant to stay inside the seal, so if it’s outside or gone, the seal won’t work.
Common Reasons for Failure:
- Dried out or old seal material
- Poor installation (spring rolls out)
- Engine sitting unused for too long
- Possible crankcase pressure issues (less common)
Fixing the Rear Main Seal
Taking Out and Swapping the Old Seal
First, they removed the transmission and the bellhousing to see the back of the engine. There was a heavy oil leak, and oil had collected where the transmission connects to the bellhousing. After taking out the bolts on the bellhousing, more oil drained out.
It became clear the oil was coming from above the oil pan gasket, not the gasket itself. The most likely problem was the rear main seal. When they took out the old seal, it came out easily, which is unusual. The seal did not look cracked or broken, but a spring that should have been in place had come off and was missing from around the crankshaft.
The team got a new rear seal from Ford, which cost about $50. This was a simpler and cheaper fix than repairing a cracked engine block.
Helpful Hints for Putting in the New Seal
Before installing the new seal, they checked that nothing was left inside the area and made sure all surfaces were clean. They suggested putting a small bit of dielectric grease or silicone paste in a few spots on the back of the seal. This helps hold the spring in place while the seal is being installed so the spring does not come off.
They advised making sure the seal sits flat and evenly against the crankshaft. Proper installation prevents leaks and helps the seal work longer. Using care and patience here can save time later.
Putting Everything Back Together and Final Steps
Common Issues While Installing the Transmission
During the process of putting the drivetrain back, one challenge is dealing with the mess left by oil leaks. Oil often pools at the point where the transmission meets the bellhousing, soaking wires and parts. This can make handling the transmission slippery and messy.
Other difficulties include:
- Making sure the new seal is correctly positioned so it does not slip or get pushed out
- Watching for leftover oil or rust residue on the transmission or clutch area
- Bolting up all parts evenly and checking for proper torque
Sometimes, parts may look more worn than they feel. It’s important to check both the look and the touch of surfaces like clutch disks and the flywheel.
Making Sure Everything Lines Up Right
Alignment is essential when putting the transmission and bellhousing back together. If any part is not lined up perfectly—like the clutch, transmission input shaft, or bellhousing bolts—the transmission may not slide in, or parts could get damaged.
To get a good fit, they often:
- Use a clutch alignment tool
- Carefully guide the transmission onto the dowel pins
- Tighten bolts in a star pattern to pull the parts together evenly
Here is a quick checklist to help make sure alignment is correct:
| Step | What to Check |
|---|---|
| Clutch Alignment | Use a tool to center clutch before bolting |
| Transmission Fitment | Slide on gently, don’t force it |
| Bolt Tightening | Tighten each bolt a little at a time |
Even after lining everything up, oil should not be present on pressure plates or the clutch itself. Cleaning these parts before final assembly can help prevent future problems.
Result and Next Steps
After inspecting the area, it was found that oil was collecting near the back of the engine and transmission. The source seems to be the rear main seal, which had lost its spring and was not sealing as it should. This caused oil to leak onto many parts under the car, covering the transmission, wires, and clutch area.
Key Findings:
- The clutch looks fairly new and is in good shape.
- There is some wear inside the flywheel, but it is not serious.
- Most transmission components appear clean with little mileage.
- The oil leak seems to come from above the oil pan gasket, not the gasket itself.
- The rear main seal is the most likely source of the problem.
| Problem Found | Condition | Planned Solution |
|---|---|---|
| Rear main seal leak | Spring missing, oily | Replace with new seal |
| Clutch | Fairly new, not damaged | No action needed |
| Flywheel wear | Minor | Monitor, no immediate fix |
Next Actions:
- Install a new rear main seal, making sure to use a small amount of silicone or dielectric grease behind the seal to hold the spring in place.
- Reassemble the transmission and related parts.
- Test the car again to check for leaks.
- If the seal still leaks, inspect for other issues such as crankcase pressure or fitment problems.
- Continue monitoring clutch and flywheel condition during reassembly.
With the right steps, it is expected that the issue will be fixed and the car can get back on the road soon.